I grew up in Karnataka, a south Indian state where finger millet aka ragi is one of the staple crops. Many eat ragi muddhe / finger millet balls instead of rice on a daily basis in the area where I grew up. I therefore have affinity towards finger millet and I try to include the flour in our diet as much as possible. Don't be put off by it's color. It is a whole grain with high nutritional value and is a good source of carbohydrates. It is gluten free as well and good for diabetics. The millet is cultivated in various parts of India and go by the names ragi, nachni, kodo and mandua. It is a hardy crop which can grow even in high altitudes and withstand harsh weather conditions and has been traditionally grown even in the hilly / pahadi areas of Himalayas.
Various dishes are made with finger millet flour in Uttarakhand including rotis. The rotis here are made in two ways, either the dough is patted with fingers or just rolled as rotis. The first time I heard about these rotis was through an online video I saw a few years ago. I make the Karnataka version thicker rottis regularly in my home but the idea of rotis sounded interesting. The patted version obviously yields thicker rotis and are made with a dough of finger millet flour alone adding a bit of salt and water. The ones that are rolled to make it thinner like the regular wheat version rotis are made with a mixture of finger millet and wheat flours. Finger millet has no gluten and it hard to roll though I saw a Pahadi chef doing it in a video which did not seem easy even to him and they were smaller in size. If looking for a gluten free version of finger millet flatbread, check this recipe of ragi rotti. You can find more finger millet recipes on my blog, clicking here.
These finger millet aka mandua ki roti are regularly made in my home over the past few years. I have tried these rotis adding various proportions of wheat flour in the beginning and now I have settled with using both wheat and finger millet flours in equal proportions. That proportion works fine for me and the dough is very easy to roll. The other thing I follow is to allow the dough to rest for a couple of hours after it is made, for the gluten to develop. The resting time helps as I don't knead much while preparing the dough. I have noticed that I have a hard time rolling when using a dough that was not rested. Also generously flour the working surface / chapathi board while rolling these rotis as it helps in rolling the rotis without sticking. Just pat away any excess flour before toasting the rotis.
 |
Ingredients: (Yield 10 rotis)
1 cup finger millet flour / mandua ka atta / ragi flour
1 cup wheat flour / gehu ka atta
1 cup wheat flour / gehu ka atta
Salt to taste
Oil to toast rotis
Oil to toast rotis
Directions:
* Combine both the flours and salt in a mixing bowl. Add water as needed and knead into a smooth, soft dough. Cover and rest the dough for a couple of hours.
I add almost close to a cup of water for this proportion. There is nothing to worry in case if extra flour or water was added. If the dough appears dry, add a little extra water and knead. If the dough appears too wet, fix it by adding a little flour.
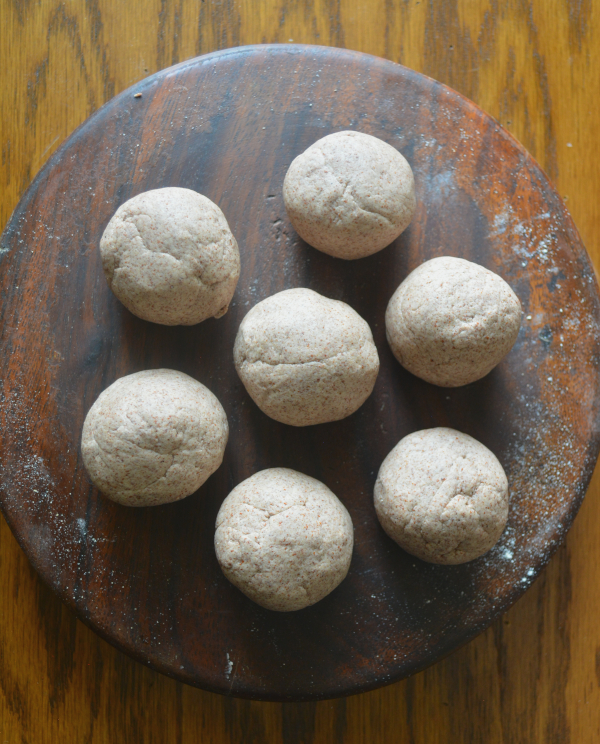
* Divide the mixture into 10 portions and roll them into balls. Work with one ball at a time keeping the rest covered. If new to roti making, then some rotis can be rolled first and then they can be toasted. Otherwise rolling and toasting the rotis can be done simultaneously.
* Heat a griddle or a shallow pan on medium flame.
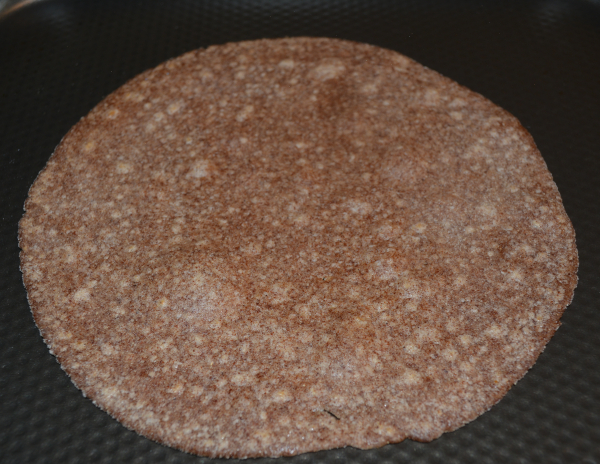
* Flatten a ball and dust it with flour.* Roll it into a thin circle of about 5 inches diameter.

* Place the rolled out dough circle on the griddle.
* Cook it until the surface darkens and then flip it.
* Let the other side cook as well until bubbles start to appear.* Add a little oil around the edges and rub the back side of the spoon over the surface. Cook it for few seconds.* Flip it and cook until the brown spots appear on both sides and remove the roti from the pan.
* Repeat the steps with the remaining dough. Serve hot with a side dish.


Mandua ki roti surely is a very healthy roti , and you have made these perfect in shape and cooked them well . Thank you for sharing the small details on how to make it , I am sure it will be great using it with wheat flour , since ragi has an acquired taste .
ReplyDeleteI was wondering why two set ups - and you immediately cleared up my doubts , seems you heard me . Like both the set ups Suma !
Talking of mudde , I loved them and made some very recently !
I love these rotis and we also make it in both the ways..your rotis are in perfect shape Suma and I love both those plates..:)
ReplyDeleteWow! Love both platters and looks perfect in either of the menus. I used to add ragi flour to the atta a few years back but somehow I have forgotten that. I shall resume that next time I make rotis.
ReplyDeleteIf there are no gluten related health issues, then adding wheat flour must make it easier to roll out the roti. I was introduced to ragi really late, but my sister in law loves ragi as she was brought up in Karnataka. Both thalis look Nice and healthy Suma,
ReplyDeleteI agree with Rajani. If there is no gluten-issues it's better to combine wheat flour. I started to combine wheat and amaranth flour and also wheat and quinoa. Adding ragi flour is a great idea. Will try it out.
ReplyDeleteA very healthy roti and good that you have combined it with wheat flour, would be easy to do or else it becomes a bit difficult with only ragi. Loved the whole thali
ReplyDeleteso healthy and nutritious ragi roti. I too love to add it for nutritional benefits. I add some onions, green chilli and make ragi roti. Whole thali looks so inviting
ReplyDelete